Digitizing Your Family Movies

Somewhere in your house is a box or drawer full of videotapes —aging home movies full of birthdays, dance recitals, holiday gatherings, a child's first steps and other special family moments. You haven't watched the movies in years but, unfortunately, the years are still taking their toll. Heat, humidity and improper storage cause videotapes to deteriorate, decaying the magnetic particles that represent your precious family memories. By converting those old VHS tapes to digital form, you can effectively stop the deterioration in its tracks. It also allows you to use your computer to edit out the boring and blooper moments, add music or narration, and make extra copies for your family and friends.
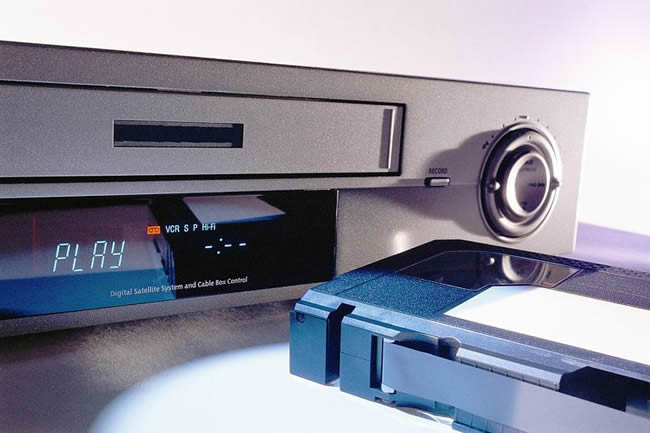
The basic requirements are easy—a computer and a camcorder or VCR which can play your old videotapes. Other important items you'll need include a device to get the video in and out of your computer (video capture), the software to edit it, and a DVD-burner to copy the video onto DVDs.
Video Capture Hardware
Transferring videotape to DVD is actually pretty easy to do yourself, but will require some special hardware. Depending on your computer setup, you may already have what you need. Three major options for transferring footage from old videotapes to computer include:
Digital Video Software
In conjunction with the hardware, you'll also need special software to capture, compress and edit the video footage on your computer. The digital video software assists you with capturing the video from your video camera or VCR, and also allows you to cut/edit the footage or add fun special effects such as narration, transitions, menus and background music. In some cases, digital video software may have come with your video capture card or device. If not, there are a number of free video editing programs, such as Windows Movie Maker, that can perform some of these functions. If you want to get fancy, then programs such as Adobe Premiere Elements, Corel VideoStudio, Apple's Final Cut and Pinnacle Studio make it easy to get your movies on DVD with professional results.
Plenty of Hard Drive Space
It may not sound like a big deal, but the hard drive on your computer will need a lot of free space when you're working with video - as much as 12-14 gigabytes (GB) of space for every hour of footage you import. If you don't have that much space to spare, consider purchasing an external hard drive. You can get a 200MB external hard drive for less than $300 -- enough room for plenty of video, plus a place to backup your photos, genealogy and other files.
Working with such large files means that you'll also need a powerful computer. A fast processor (CPU) and plenty of memory (RAM) will make it much easier to transfer and edit video.
Whichever video capture option you use—a special video card, a video capture card or a DVD recorder —the steps for capturing and editing the video from your camcorder or VCR are basically the same:
When you're satisfied with your edited movies, it's time to transfer them to DVD. Again the software will walk you through the steps. Just as with import, you'll probably be given a choice of quality settings. For the best image quality limit the video you save on a single DVD to an hour or less. Choose a high-quality DVD-R or DVD+R disk (not the rewritable version) on which to burn your video. Make at least one backup copy as well, maybe more if you plan to delete the digital video from your computer's hard drive.
If you don't have a computer, there are options available for transferring video to DVD, sans PC, using a DVD recorder unit. If you want to do any editing before burning to DVD, you'll need a DVD recorder unit with a hard drive. Fancy editing is still best done on a computer, however. Alternatively, you can pay a professional to convert your VHS tapes to DVD, although this service doesn't usually come cheap.
