Everything You Need to Know About Drawing With Charcoal

It's confession time: We're having an affair — with charcoal . When it comes to black-and-white drawing, no other medium is as rich and satisfying. We're crazy about the dark, velvety colors and loose, gestural marks.
This step-by-step tutorial will have you falling in love, too.
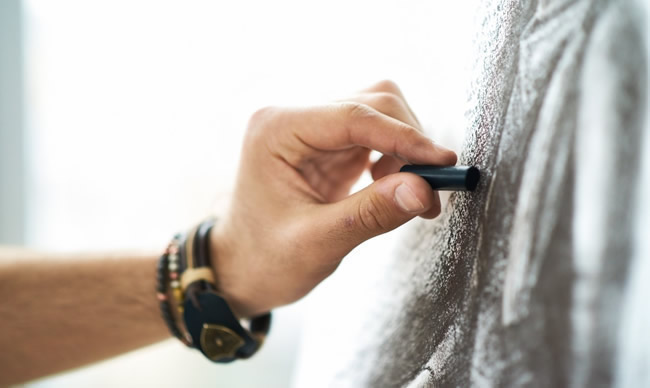
When you start a charcoal drawing, it's best to work vertically on an easel or drawing horse. This allows the charcoal dust to fall away, and lets you see the whole drawing without any of the distortion or foreshortening that a flat surface can cause. Make sure to secure your paper or sketchpad with clips before you begin!
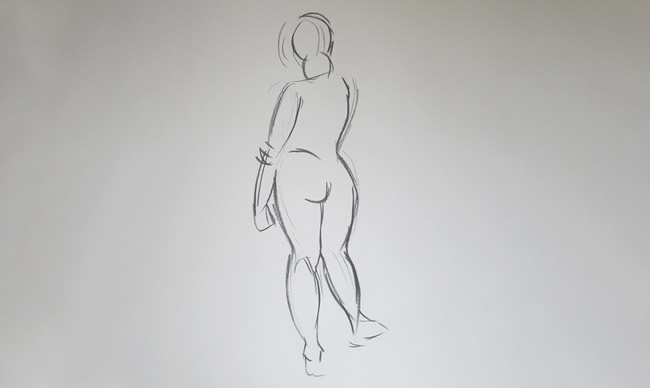
Lay out the basic shapes with a stick of vine charcoal. Because it can be erased easily, it's great for rough sketching. Try making quick, gestural lines that can be reshaped and refined later.
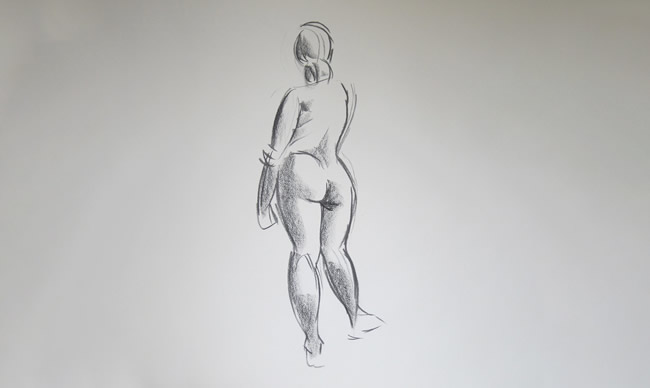
With the edge of your compressed charcoal, start laying in values. Pay attention to where the light source is on your source image or subject. Don't get too dark just yet!
Sometimes you want the strokes and marks of compressed charcoal, and sometimes you don't. With your paper stump, you can start smoothing and blending some of your values to get more even tones, as well as extend your marks a bit further without directly applying charcoal.
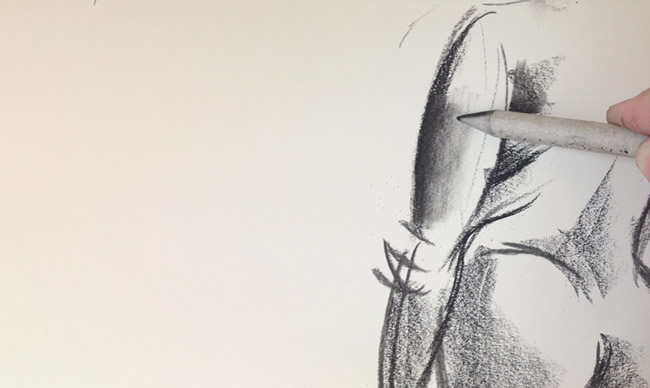
Continue applying charcoal and blending/smoothing with the paper stump as you go. (Consider adding color to the negative space around the figure to help with definition.)
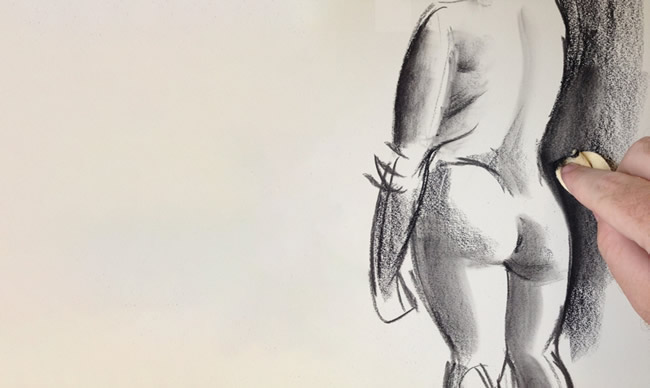
Pull back any areas that have gotten too dark with the chamois, or use it to blend and smooth the background values.

To create crisp, hard-lined highlights and value shapes, use quick, assertive strokes with your eraser. Be careful not to keep working over the area or it could smudge!
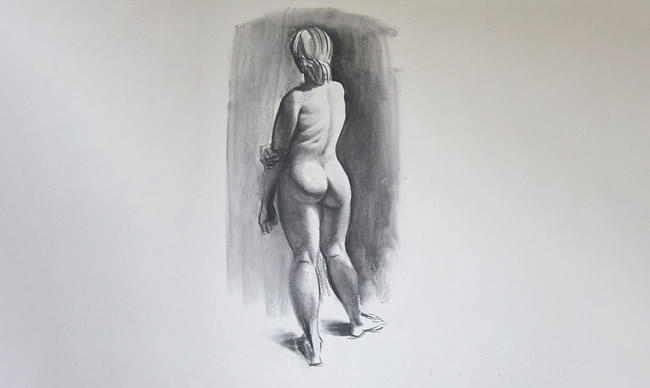
Don't overwork! Use your best judgment to determine when your drawing is finished. One of the best qualities of charcoal is that it allows you to leave some parts of a drawing unrefined while developing other areas more fully. Think about where you'd like to keep your drawing loose and gestural, and where you want it more "finished."
