Have fun with this creative and easy-to-learn 'variation' of painting.
A monotype is a traditional fine art print made by pressing a piece of paper (often a damp sheet) against a painted or inked surface. It's a technique that's easy to learn and something done easily in your own kitchen. The plate used for a monoprint only exists once, so each monoprint is unique. While additional prints can be made if the plate still has enough paint on it, the second print will vary substantially from the first. This tutorial on how to make a monotype print was photographed and written by B.Zedan, and reprinted with permission. B.Zedan describes herself as "a multi-media packrat, an avid collector of broken things and artistic techniques". For more of B.Zedan's work, take a look at her website and Flickr photostream.
These are the supplies you'll need to make a monotype print:
Monotype Paint. I use Createx monotype paints; if you're going to get into mono printing, then they're a good investment. (Buy Direct)
Watercolor pencils. They are a great thing to own, no matter how insecure you are in your art skills.
Tempera Paint. Most people have experience with this stuff. Households with kids have it. You want a paint that can be cleaned up with water, and that is the point of tempera. (Buy Direct)
Paper. Most will work, but watercolor paper works best. You want something that is absorbent and strong. (Buy Direct)
Brayer. It's like a mini-rolling pin and mostly it's just art nerds who own them. (Buy Direct)
If you haven't got a brayer, you'll need a rolling pin. More households will have a rolling pin than a brayer. I've got a marble one, found in a thrift shop. If you have a heavy one, that is ideal.
If you haven't got a rolling pin, you'll need a wooden spoon. Pretty much everyone has a wooden spoon. This can do the same thing as a brayer or a rolling pin -- rub/squish or, in fancy words, burnish.
Assorted Brushes.
. I'm using 120, a medium grit.
Piece of Plastic or Plexiglass. You want a non-porous surface to serve as the plate for the print. This is the most difficult thing to find is a piece of plastic or plexiglass; an old picture frame is one source. You could use glass, but I don't like to mess with it.
You can also use unflavored gelatin to make a plate. Basically you boil it up, pour it in a baking tray, then leave it to set. The disadvantage is that only keeps a few days.
02 of 25
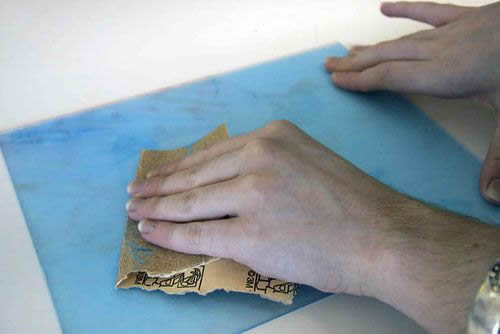
How to Make a Monotype Print: Step 2 Sand your Plate
Using medium or relatively fine sandpaper (I'm using 120), rough up the surface of your plate. This will give it a little tooth, which allows for stronger color. If you apply a thin layer of liquid hand-soap with a brush after you've sanded and leave this to dry before you paint on the plate, this will help your colors transfer well to the paper.
03 of 25
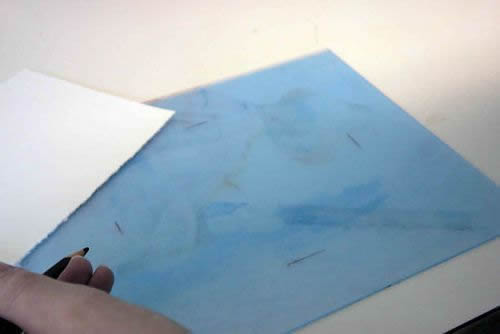
How to Make a Monotype Print: Step 3 Mark the Paper Outlines
If you are using a reference picture, or you've got a drawing you will be working from (like a coloring book), lay it under your plate and mark where its edges are. I've removed the blue backing of the plastic so that I can see my reference photo more clearly.
06 of 25
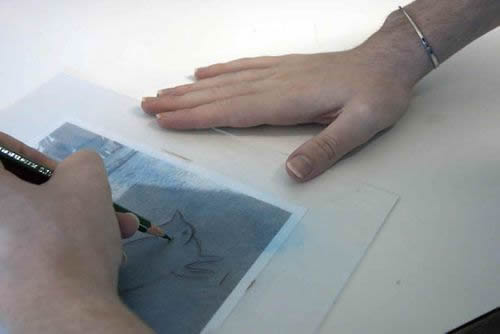
How to Make a Monotype Print: Step 6 Tape the Reference Picture
Flip over your plate and using the marks you just made as a guide, tape your reference picture to the back of the plate. This way it won't go slip-sliding around when you're working.
07 of 25
How to Make a Monotype Print: Step 7 Start Drawing
This is the back side of the plate. Looking at the back will give you a good idea what your print will turn out like. When you're done, let the paint dry. If you try to print it wet it will squish.
13 of 25
How to Make a Monotype Print: Step 13 Wet the Paper
Wet your paper by sticking it in a shallow container of water and letting it sit from five to 10 minutes, depending on the paper you're using. If you have wimpier paper (not watercolor), wet it for a shorter time or use a spray bottle.
14 of 25
How to Make a Monotype Print: Step 14 Blot the Paper
If you are using a wooden spoon instead of a brayer or rolling pun, rub it across the paper in small circular motions, from the center out, 'burnishing' the whole surface. It can be a little tricky, because you have a smaller tool than a rolling pin or brayer, but it works just as well.
20 of 25
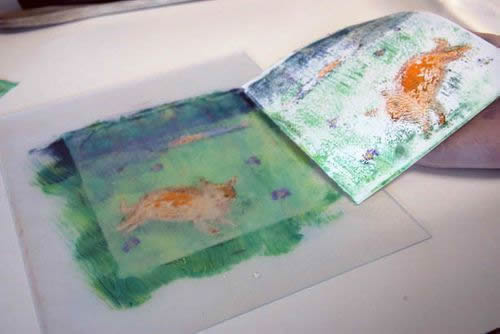
How to Make a Monotype Print: Step 20 Peek at the Print
Take a peek after you've burnished the print. Keep a hand on the paper, so the whole thing doesn't come up. If there are spots missing, carefully lay it back down and go at it some more.
21 of 25
How to Make a Monotype Print: Step 21 Pull a Print
When you've got it all burnished, peel the paper off the plate. In the industry this is called "pulling a print". You'll see there are some dubious spots in my print; I'll fix that in a second.
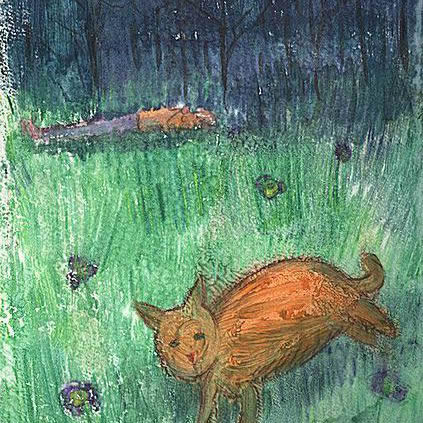
22 of 25
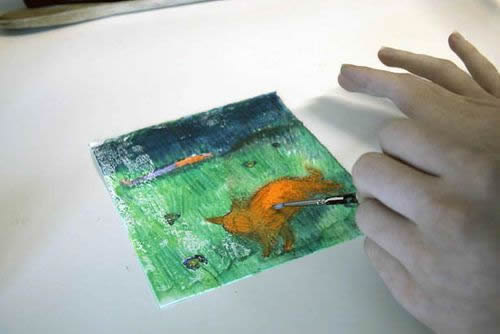
How to Make a Monotype Print: Step 22 Touching Up the Print
There is probably still some ink on your plate. If you want, you can make a ghost print. Do the printing process again, with a new piece of paper. The resulting print is much lighter and spottier. The patchiness can be good though, depending on what you want.