How to Make Paper

01
of 37
How to make paper from scrap paper (and recycle paintings done on paper)
Paper making is a science in the same way cooking is. You learn the rules, which are hardly ever solid, then you improvise and improve and make it your own.
This illustrated step-by-step tutorial shows you how to make your own paper from start to finish, without any expensive equipment. The demo is done using scrap paper, but the technique is perfect for recycling any rejected paintings done on paper, especially watercolor paintings.
This tutorial on how to make paper was photographed and written by B.Zedan, and reprinted with permission. B.Zedan describes herself as "a multi-media packrat, an avid collector of broken things and artistic techniques". For more of B.Zedan's work, take a look at her website and Flickr photostream.
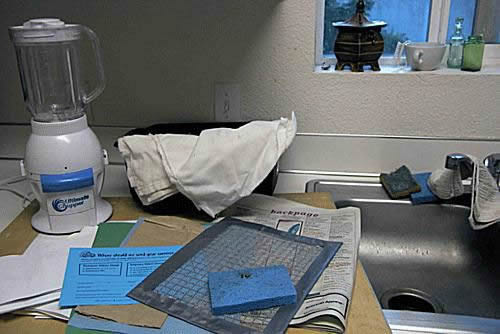
Gather what you need. Most things are household items, except for the screen and the vat. It goes easier if you work near a water source, and where you can spill water without worries. You will need:
02
of 37
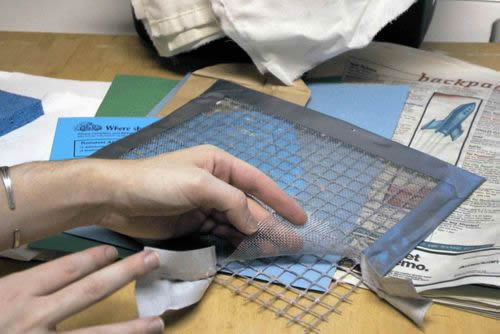
The screen I'm using is the simplest and cheapest version you can make. It consists of a piece of 1cm chicken wire with a piece of metal door screen (not fiberglass) on top, held together at the edges with duct tape tape. All these items can be found at a hardware or feed store. Keep your lines of tape as straight and smooth as you can, so they don't trap pulp.
03
of 37

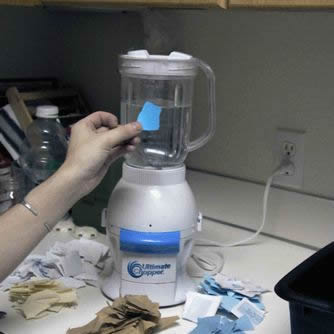
Fill the blender about three-quarters full of water. Be kind to yourself and let the water temperature be between tepid and bathwater warm, no need to go plunging your hands into cold water.
04
of 37
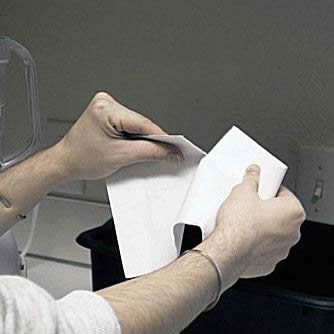
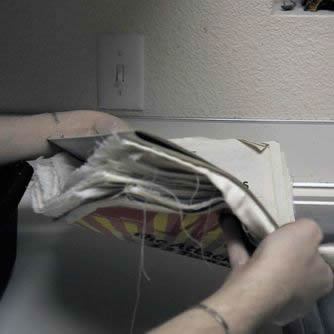
Start tearing up your paper. You could cut it if you want to, or have bad hands, but tearing is quicker overall.
05
of 37
Ideally, your bits of torn paper should be around an inch square (about 2.5 cm2). I'm using a pretty burly blender, so mine are a little bigger.
06
of 37
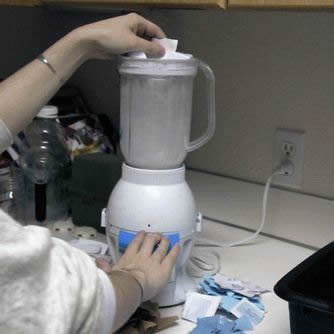
If you are using a pulse blender, throw your paper in and then blend. Otherwise, turn it on some medium speed and pop your paper through the hole in the lid.
The lid is very important in this process. If your pulp goes flying all over it will be awful to clean up. You want to blend until your motor sounds a little tired (best explanation), then up your speed and blend for another 10 to 30 seconds.
07
of 37
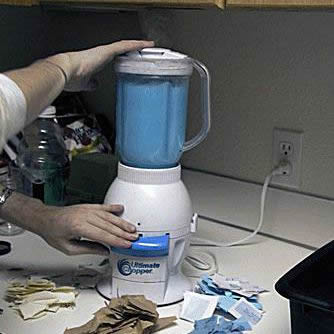
This photo shows how the pulp looks with some of that blue flier thrown in. Remember that your dried paper will be one to three shades lighter than your pulp.
From left the right the piles of torn paper are: business mail, white notepaper, brown paper bag, bills, and a blue mailer.
08
of 37
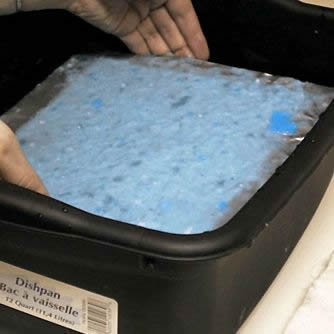
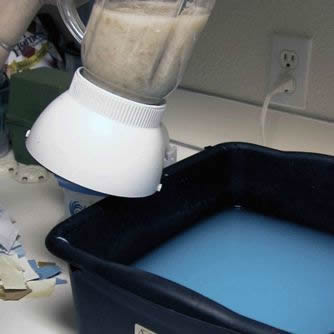
Add your pulp to the vat. I use three blenders of pulp to one blender of water. This will make a nice soup, not too thick, not too watery, and about the right height (near the middle) in the vat.
09
of 37
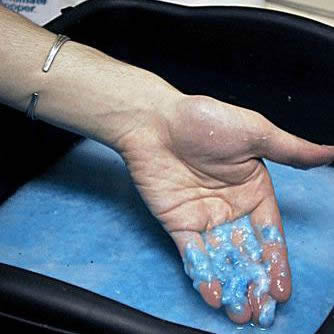
This is how fine I blend my pulp. How you blend yours is up to personal taste. I like a few chunks. A sturdy blender and some patience will get your finer pulp and therefore finer-grained paper, but if you wanted perfect paper, you would buy it instead of making it.
10
of 37
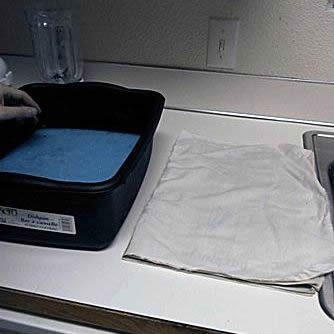
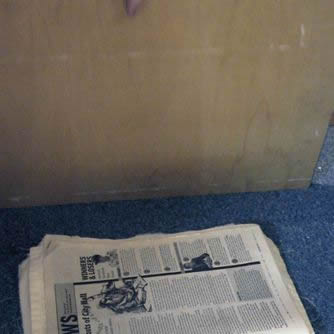
Prepare your space. Next to the vat, depending on your handed-ness, lay down some newspaper and then a 'felt'. Have the rest of your newspaper and 'felts' nearby. Once you get going, you're not going to want to search around.
11
of 37
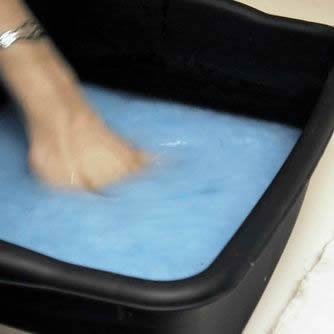
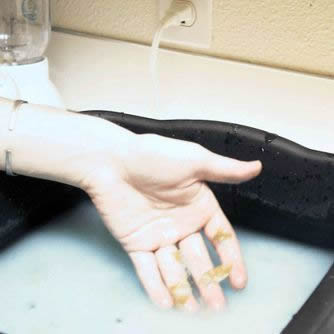
Mix up your pulp and water by stirring your hand around in it. This is called "charging" your vat. You'll want to do this before you make each sheet, or thereabouts, any time the paper and water start to separate.
12
of 37
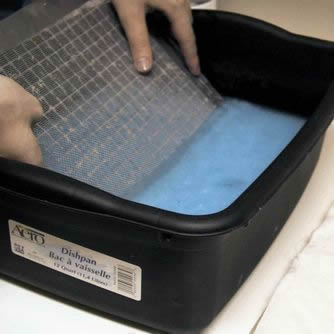
Going it at about a 45-degree angle, dip your screen into your pulp, tilting it further as you go, so you're easing the screen into the pulp.
13
of 37
This is what you're going for. The paper's cellulose will bind itself, you just need to gather it evenly on your screen. I swear it will be paper.
14
of 37
Once your screen is in the pulp, shake it back and forth just a little, evening and settling the pulp along the screen. Continue rocking/shaking the screen as you pull it up out of the vat. If you screw up, just flip the screen over and tap it against the water in the vat, the pulp will fall off, back into the water.
15
of 37
With your sheet formed, tilt your screen to drain the excess water out. When it's only dripping intermittently, you can couch it.
16
of 37
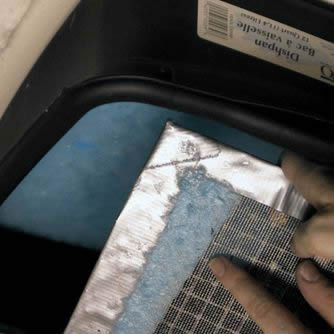
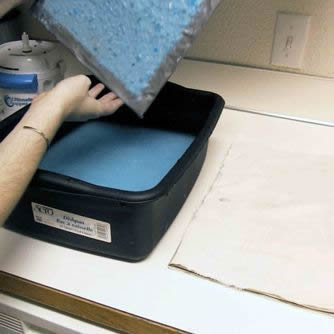
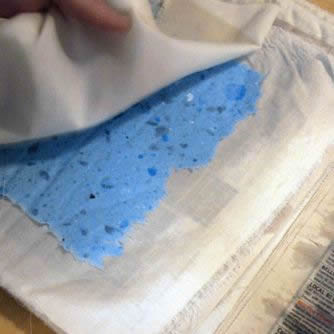
This is "couching". Line up your screen on your 'felts' and flip it over.
17
of 37
The water in the screen should hold the pulp/paper to your screen well enough for you to flip it over.
18
of 37
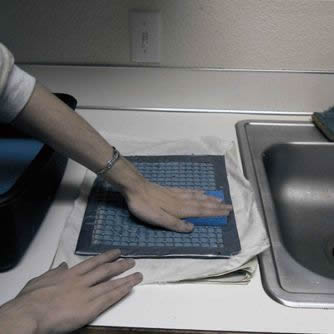
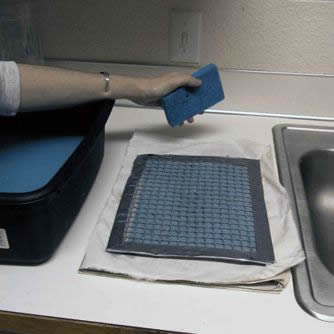
Soak up more water with your sponge through the back of the screen. Move around, paying attention to the edges.
Squeeze excess water out of your sponge as you go, you want to get as much water out of your paper as possible so it will release from the screen.
19
of 37
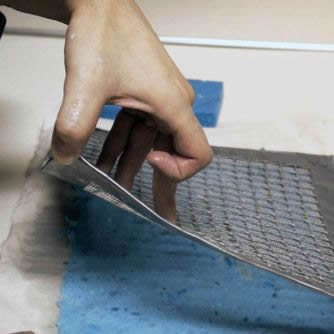
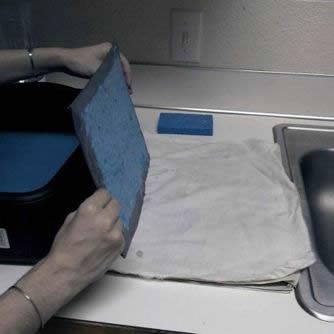
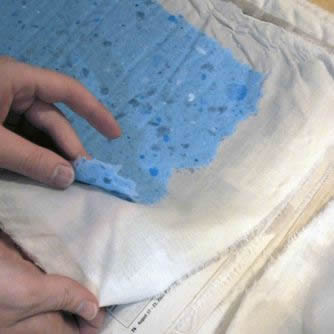
Starting from a corner, pull your screen off the paper. If it won't let go, plop it back down and soak up more water with the sponge.
20
of 37
Well, there's a piece of paper. Yay!
21
of 37
Cover your new paper with another 'felt', then some more newspaper, and you're ready to go again.
22
of 37
After three to five sheets, you'll find that your paper is getting thin and maybe being a brat about releasing from the screen. Time to add more pulp. This batch is white with some brown paper bag thrown in.
23
of 37
Adding the new pulp ended up with a mix that's a nice neutral-like light blue. Brown paper bags don't blend up that well, so give it more blending if you don't like the chunks (which I do).
24
of 37
When you're done making sheets, top off your pile with another "felt" and some more newspaper. The result is called a "post".
25
of 37
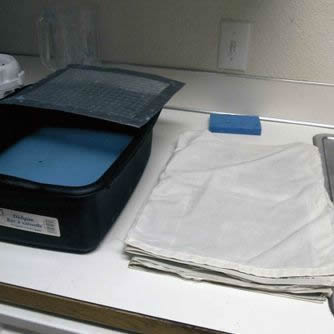
Paper pulp will do a number on your pipes, so use your screen or a fine colander in the sink when you drain your vat.
26
of 37
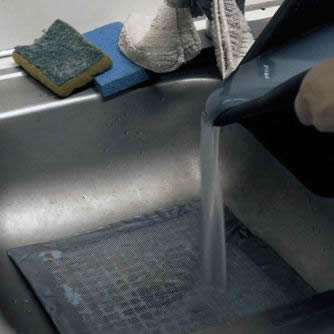
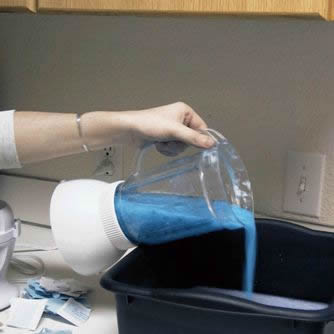
The water in the vat will pour off first.
27
of 37
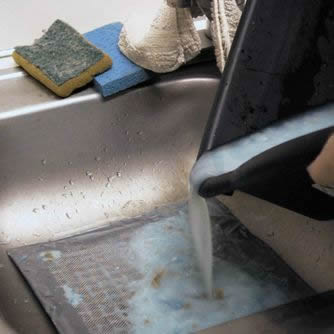
After the water has been poured out of the vat, the pulp will follow with some suggestive plopping.
28
of 37
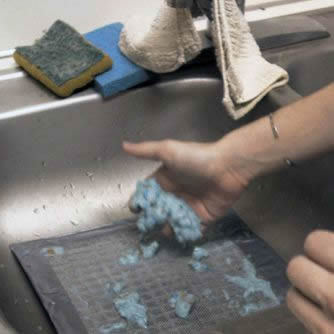
Using a screen when draining the vat will help you reclaim any leftover pulp, which can be squeezed out and left to dry. When you make paper later, this pulp can be broken up and re-blended.
29
of 37
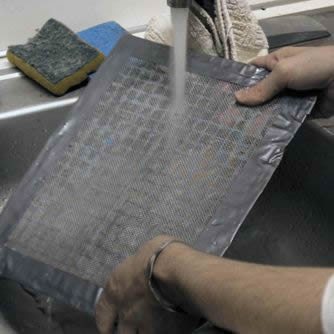
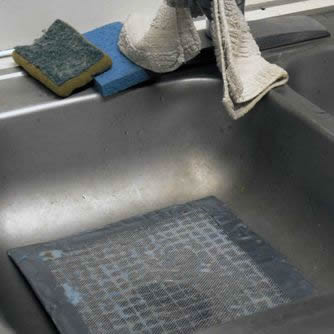
Rinse your screen thoroughly; dry paper on it is a nightmare to remove.
30
of 37
Time for the poor man's press. On some floor you can clean easy or don't care about, lay down your post and put your board on top.
31
of 37
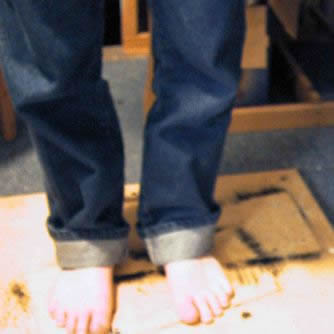
Stand on the Poor Man's Press, centering yourself on the post. Hang out for a while; a few minutes is enough.
32
of 37
Now you can remove your damp paper and let it dry in a well-ventilated place, or you can keep it on the felt to dry. (Comparisons of drying techniques are shown here.)
Remember: Always pull from the corners and gently.
When your paper is dry, hang your "felts" out to dry and recycle the newspaper.
33
of 37
Paper is tough, but be nice to it when you are removing it from the "felts".
34
of 37
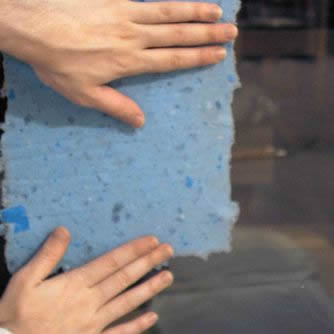
For a smoother finish, slap your paper up on a piece of glass such a window or sliding glass door. You can also leave it stuck to one 'felt' and clothes-pin it up (by the fabric, so the paper isn't marred), or you can remove the sheet from both "felts" and let it dry, this will give you a rougher sheet.
Depending where you live, time to dry will vary. Give it overnight and check.
35
of 37
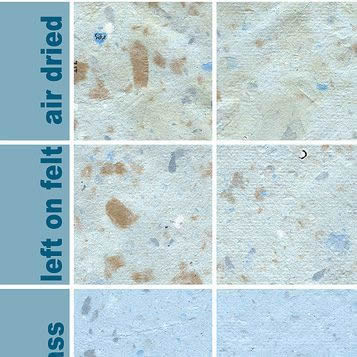
This is a side-by-side comparison of the surface quality of the paper, depending on different kinds of drying styles.
Air-dried paper will often have an even rough textured than this example. The more water you squeeze out before you remove it from the felt, the less buckling and warping you'll have.
The texture of your "felt" will have an effect on the resulting texture of your paper. That's why I use a relatively smooth sheet for my "felts".
If you're drying on glass, make sure to have the surface of the paper completely smooth. Air bubbles will keep the screen and felt marks.
36
of 37
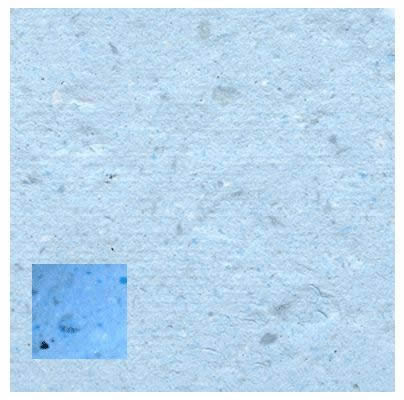
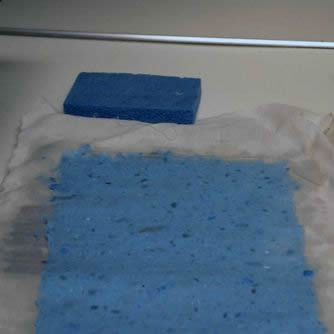
The color of your pulp (inset square) is always darker than the resulting paper. Using construction paper and colored paper for your 'dye' will create a wider gap between pulp and paper color. If you want a bright color, just really add lots of colored paper to your pulp.
37
of 37
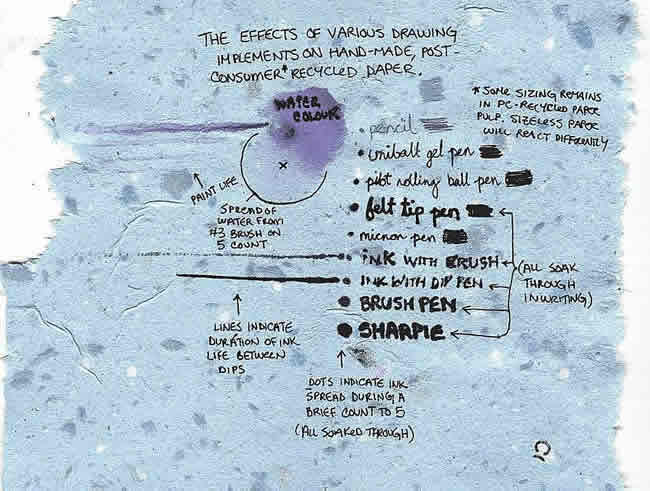
The ragged edge of the sheet of paper is known as a "deckled edge".
This photo shows the effects of different writing implements on handmade post-consumer recycled paper (without any size added). Adding some sizing (such as gelatin) into the pulp would make the paper less likely to soak up all your brush contents in one go, and cut down on feathered edges on ink lines.
