How to Paint Your Yoga Mat


Reason No. 486 to get your namaste on? So that you can make — and use! — a custom painted yoga mat. This project is a great way to express yourself by creating a downward doggone-cool piece of art that makes exercise fun. Plus, it's seriously easy.
My personal favorite types of mats also just happen to be the easiest and cheapest ones to find: slightly nubbly-textured, non-slip options are available at most major retailers for less than $30. Yoga mats that are completely smooth or have a cloth-like coating will not work well.
(Oh, and I probably don’t have to tell you this, but it’s not a good idea to execute your first yoga mat painting project on a $200 mat. Just saying!)
Acrylic paints are your best bet, especially the high-opacity ones that come in tubes. Liquid acrylics (the kind in bottles) won’t show up quite as well, but can work nicely if you want to create a more subtle image or pattern on your mat. You're also going to need a washable marker, acrylic paint brushes, a palette, a palette knife for mixing paint, and water for diluting your brush.
I always like to have a plan, especially with my art! Make a quick sketch on paper first, so that you can work out your design before heading to the mat. One thing to note: The paint will make your yoga mat a little extra-sticky. If you think this will be distracting, you may want to avoid painting the highest-traffic portions of your mat (i.e., where your hands and feet will be positioned during downward facing dog).
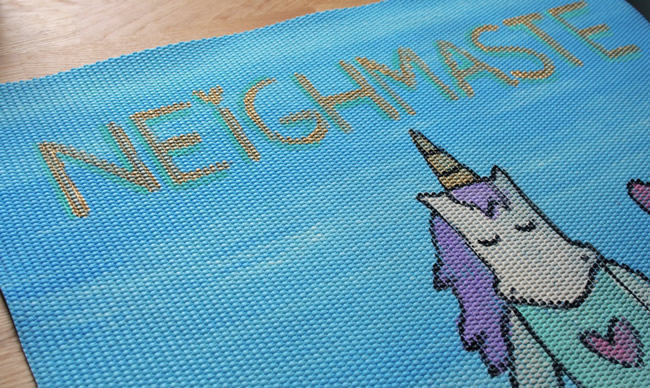
Once you have your ideas fleshed out on paper, recreate the sketch on your mat with a washable marker.
Start by mixing up your colors, but be careful not to over-dilute them. Yoga mats are a lot less porous than say, canvases, so the paint might not stick well if it's too watery. Once your paint is ready, go to town coloring in your design!
Practice those yoga skills and be patient! Let your yoga mat dry for a full 24 hours before rolling or using. Even if it feels dry to the touch after a few hours, the paint may not be completely set.