How to Paint Reflections in Water, Using Watercolor Paints

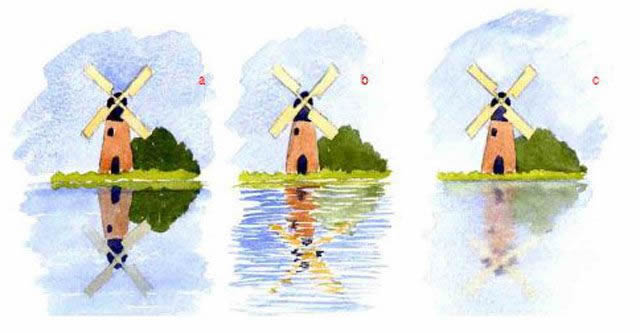
This watercolor painting tutorial shows you three ways to paint reflection in water. We've used the same picture for all three approaches so you can easily compare results. The aim is to learn different ways of painting water so that you can either vary the way you approach it or just choose the method you like best.
01
of 08
Andy Walker
We’ve picked a picture of a windmill as the subject for this exercise because this is just that bit more interesting than a normal house, and there is the added complication of the sails with their angles to get right!
To complete the exercise you'll need the following:
Let's get started!
02
of 08

Andy Walker
Using a pencil, lightly draw an outline of a windmill (as shown above) onto your sheet of watercolor paper. Draw it three times in a row―because you're going to paint three different styles of reflections―then under the left-hand windmill only draw a reflection of the windmill.
Now let's select some colors...
03
of 08
Andy Walker
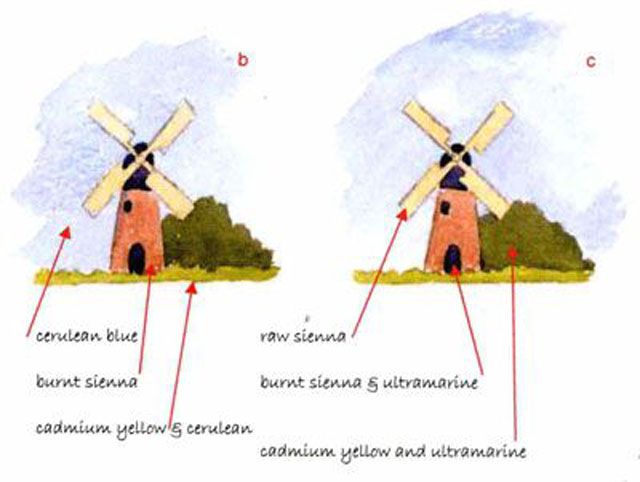
Paint the windmills using the colors as shown, or select your own. Don't worry about doing anything fancy, this is just an exercise to show how things work. Each area is just filled in with a flat wash.
The colors we've used are:
Now let's paint the first style of reflection...
04
of 08
Andy Walker
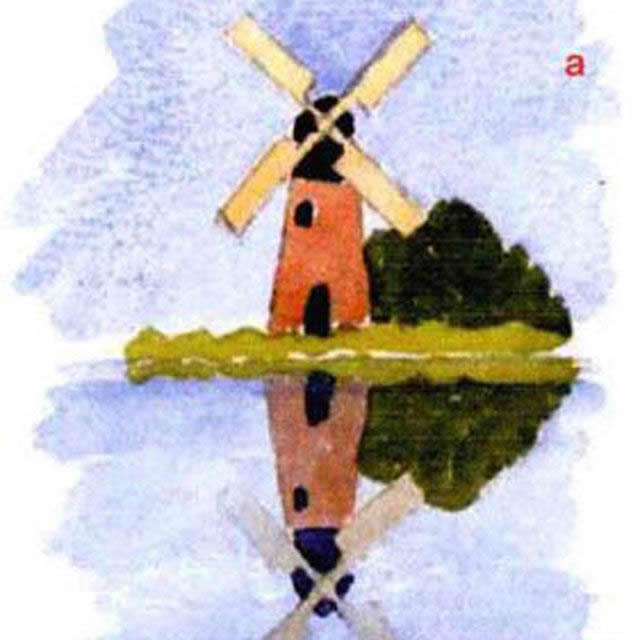
Using the same colors as you did for the windmill, paint the first reflected windmill―but not the sky around it. Leave it to dry completely before painting the water.
05
of 08
Andy Walker
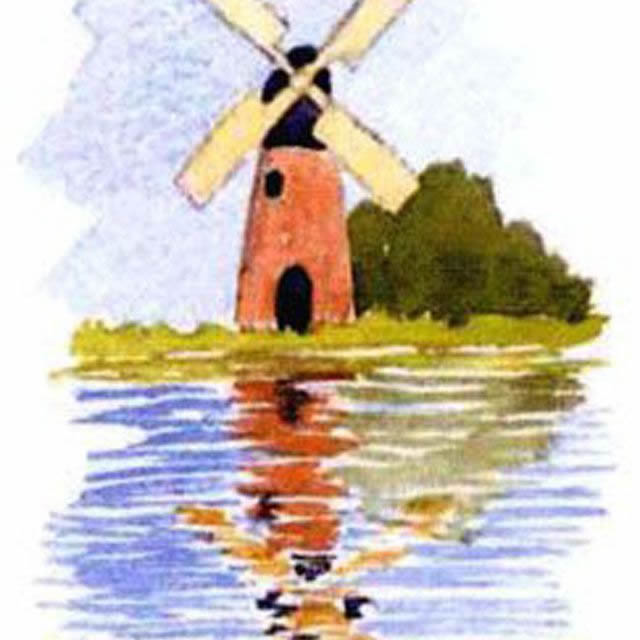
Now you've got the first reflected windmill painted and it has dried, it is just a simple matter of painting the water surface. This is done by laying down a cerulean blue wash over the entire water area, going right over the reflected windmill itself as well are the reflected foreground and bushes.
This dulls the reflected windmill colors and makes them look as if they are in the water―just what you want to achieve.
06
of 08
Andy Walker
Using your same colors as before, but this time creating small horizontal strokes, paint in the reflection of the windmill and then the water. You may want to mark a few pencil dots where various parts of the windmill will be in the reflection, to act as guides.
Don’t bend your wrist as you paint these lines, or they will end up as curves rather than straight lines. Instead, hold the brush firmly and swing your whole hand gently from your elbow.
07
of 08
Andy Walker
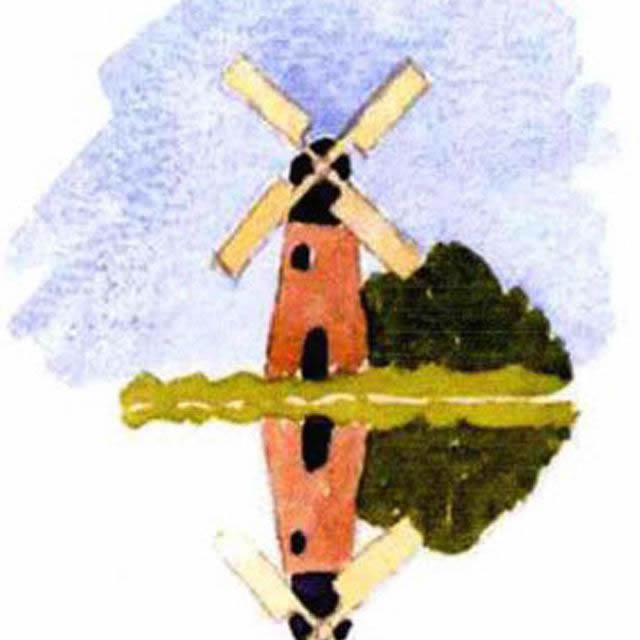
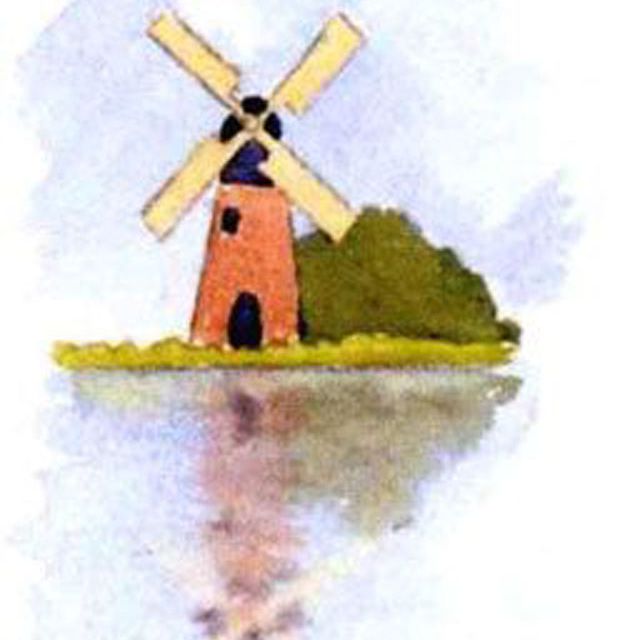
This technique is the least predictable but produces a very realistic result. We are going to work wet in wet, laying down the blue water first and then dropping in the windmill.
Have your paper lying flat for this technique. Lay down a wash of cerulean blue over the whole water area, and then wait for a little until this begins to dry. If you go in too soon with other colors they will spread to far and fade to nothing, and if you go in too late the paint may cause cauliflowers and back runs to form, or just not blend at all.
Our advice is to test it out by dropping in tiny amounts of 'windmill' paint and see what happens. If it spreads out just a bit, then that's the right time to drop in the rest of the picture. Just touch in the windmill and allow the wet-in-wet effect to do the rest. Risky, but effective!
08
of 08

Andy Walker
Now you've finished the third technique for painting reflections in water, you've got a sheet you can refer to whenever you want to paint a reflection. Pin it up on a noticeboard, or file it in your creativity journal.
About the Artist: Andy Walker has taught watercolor painting for a number of years, and over this time has tried out many different ways of teaching. Andy has found that the one method which seems to work the best is the step-by-step approach, and has compiled a watercolor course based on step-by-steps. This tutorial on painting reflections in water is one from his course and reprinted with permission.
