Tame the Mane! Here's How to Draw Curly Hair

Everybody has at least one defining feature, the thing that makes them look like themselves and nobody else. When you're drawing somebody's portrait , you want to get that feature just right.
So what happens when that signature feature is hair — more specifically, a thick mass of curls? That might sound tricky to draw, but we're here to tell you it isn't. This step-by-step guide will show you the way.
All you need for this tutorial are basic supplies: paper, pencils and eraser. You may not even need a reference photo, though it can help.
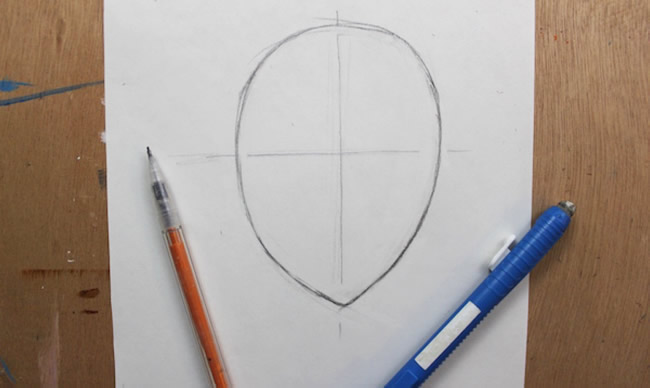
Draw an oval for the head and then draw the neck. Put some guidelines where the nose and eyes would be.

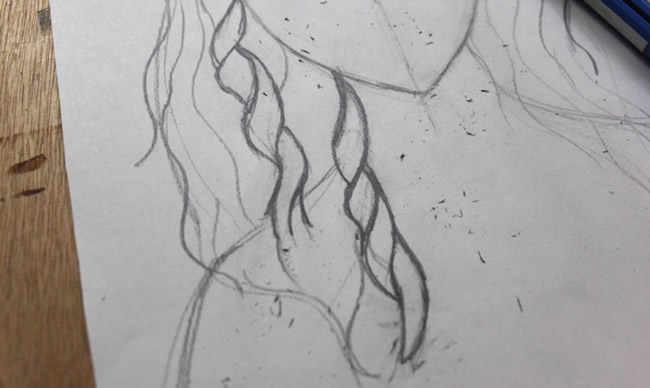
Outline the general shape of the hair. Don't skip this step! The silhouette will indicate hair style and length.

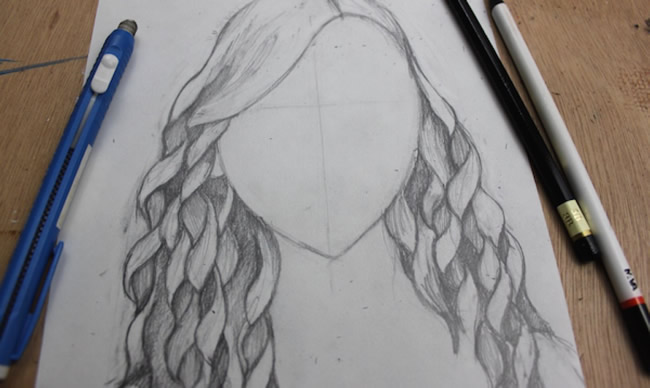
This is as simple as drawing wavy lines to indicate where the curls will go. For longer hair, make long, relaxed lines. For shorter hair, make shorter, more zigzag lines.
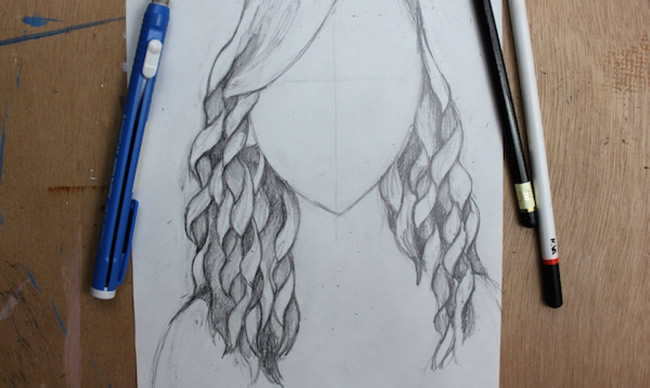
Here’s where you start to bring the curls to life. While all hair is different, there are some general rules for defining curls:

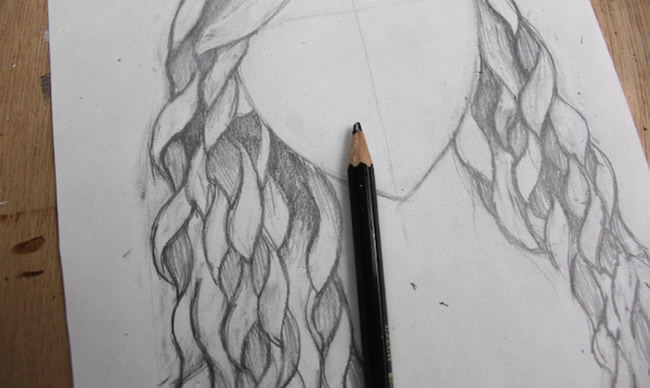
Shading gives your drawing form and depth, so darken around the ringlets and the underside of the curls. You'll be surprised at how lifelike your drawing will become.
Not too hard, right? Once the hair is out of the way, it's time to move on to drawing the face .
