You Do Hue: How to Mix Watercolor Paints to Get Just The Shade You Want


You were in kindergarten when you learned to mix blue and yellow to make green — and you nailed it! Yet somehow mixing watercolors to create just the right shade still seems hard. How exactly do you get the right color and consistency and not end up with a big puddle of mud?
Truth us, mixing watercolors is a lot less complicated than you think. Once you get the hang of the basic process, you'll be able to create any shade you could possibly want from just a few tubes or cakes of red, yellow and blue. Who knew?
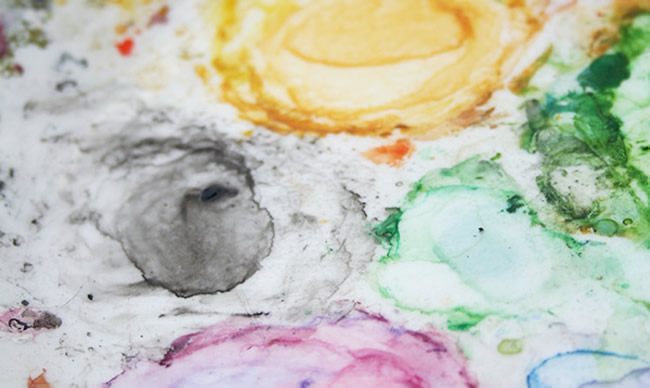
This is where the magic happens. You can go to any art-supply store to pick up a plastic palette with built-in wells for mixing colors, or simply use any nonporous surface with plenty of space so your newly mixed hues won't bleed together. I personally use an old dinner plate (above).
Okay, duh, but what kind? Watercolor paints come in two forms: pressed cakes or tubes. You can use either for mixing colors, so just pick your fave.
Also obvious, but what you may not realize is that water does more than bring paint to life; it also gives the paint a consistency that lets it be easily mixed. Water can also help you adjust colors, making them lighter or darker.
Keep clean water in a jar or glass near your palette. Just don't fill it up all the way! You'll be dipping and swirling the brush in the water and don't want any sloshing.
You really just need one basic round brush, but you can use any watercolor brush (totally U2U), depending on the effect you're after in your painting.
You'll want some to see the colors you're mixing before you use them for your painting. Go with white paper or whatever color you're planning for your piece.

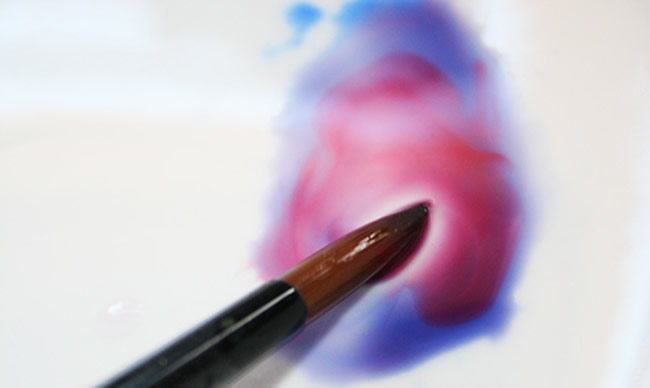
First thing: Choose the hue you're aiming for. While you may remember the basics of mixing primaries (bonus points if you remember your secondaries!), it's helpful to refer to a standard color wheel to understand color relationships and all the mixing possibilities. In our example, we're going for violet, a mixture of red and blue.
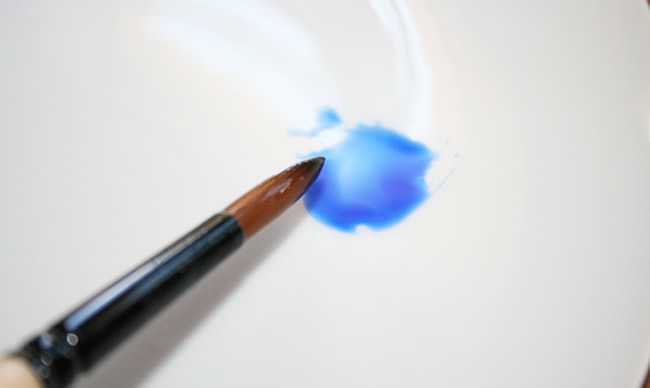
Dip your brush in water and load it up with one of the colors you'll be mixing. Some people like to start with the more dominant tone. With a color like violet, both red and blue are equally strong, so it doesn't really matter which one you start with.
Dab the paint onto your palette; keep adding more until you feel you have an ample amount for your painting. Make sure of this: Re-creating a mix later is not so simple.
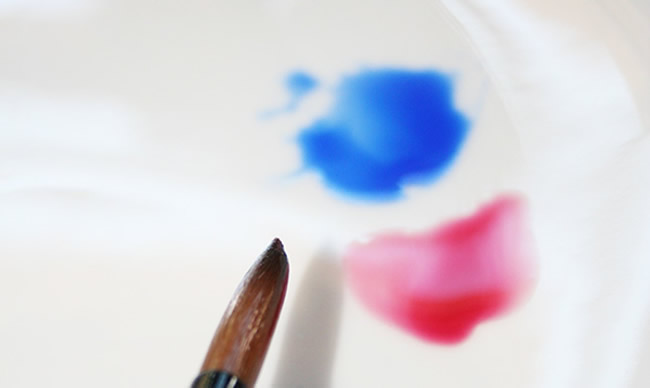
Clean the brush with water. Repeat the same process with the second color, but don't dab the second color right into the first. Instead, dab the second color right next to the first. This way, you can be sure you're adding an equal amount.

Clean the brush and re-wet, then mix the colors together.
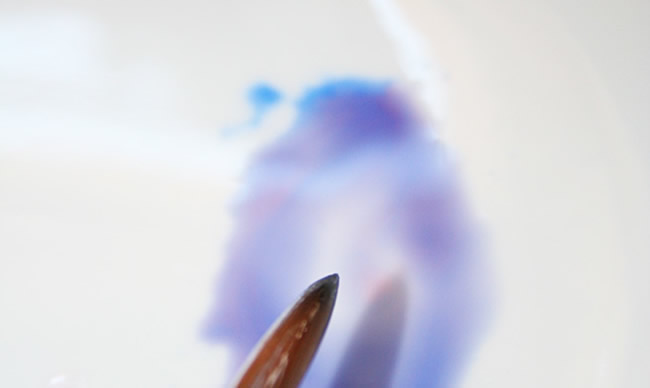
How's it looking? You may want to paint a small amount on your scrap paper to gauge the hue.
Hmm, the mix looks more blue than red, so clean the brush and add a little more red paint to balance things out. Keep tweaking until you get the color just right.
Sometimes you may need to use a little of a third color to get just what you need. For instance, adding a bit more yellow to green tones can make the difference between a forest green and a grass green; adding a touch of blue (yep, blue!) to a skin tone can give it the undertone it needs.
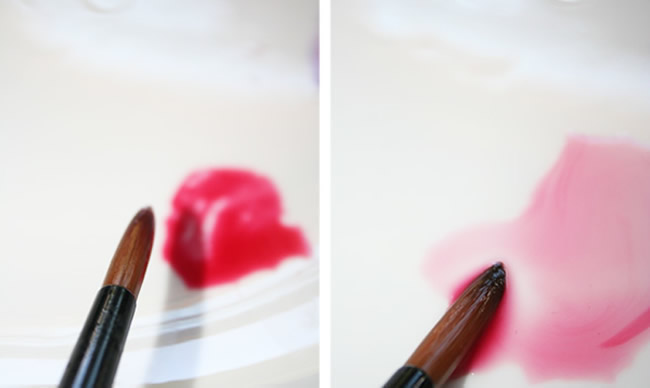
Sometimes you can get the hue you want just by adding water to a primary color. You could make pink, for instance, by combining red and white watercolors — or you could simply water down red paint to create just the pale rose you're looking for.
Don't worry about sealing your newly mixed hues in airtight containers in-between painting sessions. Just let them dry on the palette. Unlike acrylic paint, dried watercolors come back to life with water.
Okay mix master, time to get painting!
Photos via Unicorn Love
